
Wouldn’t you like to be able to make your own faux-leather-like material for hair bows in any color or print?
When you have the perfect faux leather or glitter material and nothing to pair it with, or the time when you saw an adorable digital paper that would look so sweet on a bow? How amazing is it to be able to print that digital paper and make your own hair bow material! Let me show you how easy it is.
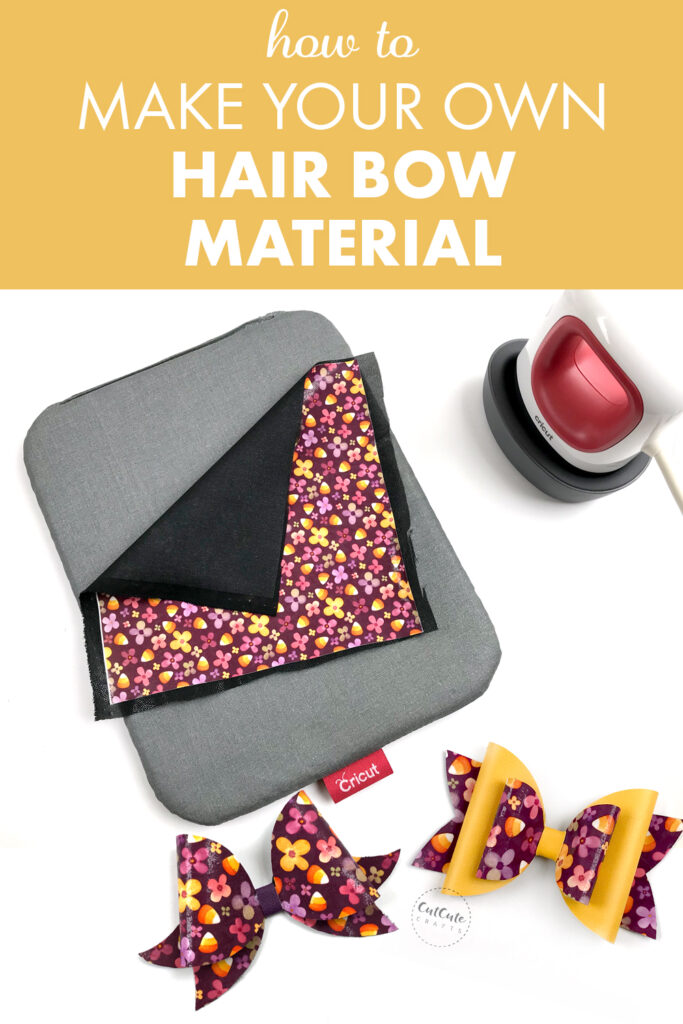
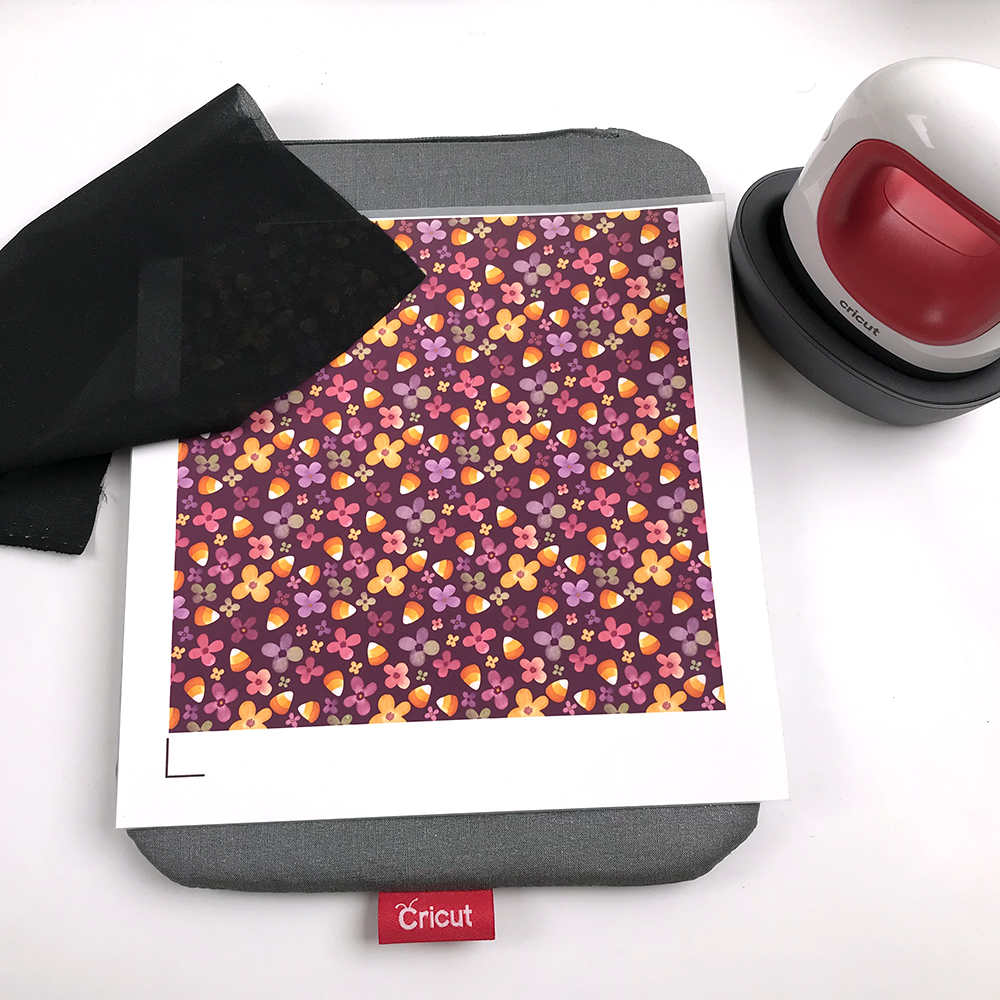
The materials you will need are printable vinyl sheets and fabric or textile interfacing and a silicone paper sheet. The tools that are needed are an inkjet printer, a hot press or a good iron and some heat resistant surface to press on.
I used black fusible interfacing, because that was on hand at the moment. Any thin to medium cotton fabric would work perfectly. A polyester non-woven works well too, but I prefer woven fabric, because the cutting machine blade cuts easier through it.
First I trimmed the non printed fields around the pattern on the vinyl sheet. At the same time the press was heating up. I also peeled the vinyl from it’s backing sheet.
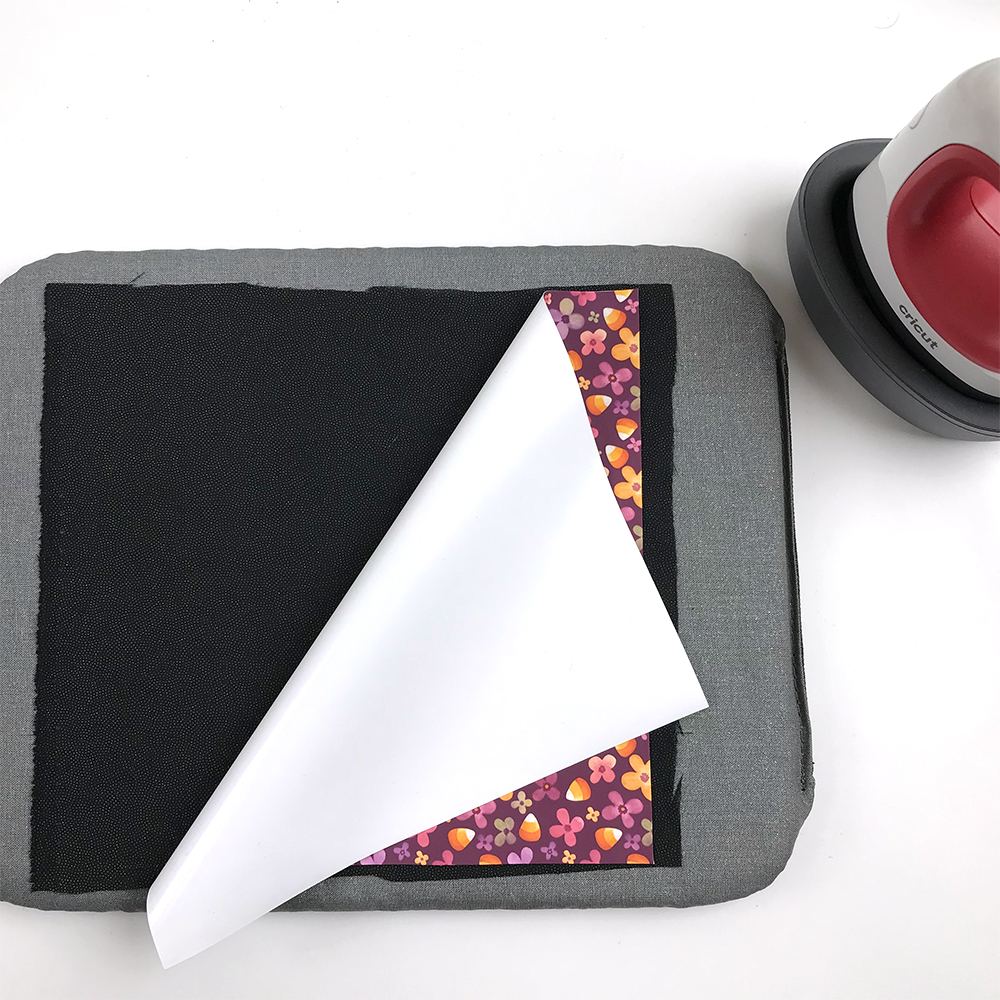
Next I made a sandwich of the pressing pad at the bottom, the fusible interfacing over it with it’s rough/glue side facing up. On top I centered the vinyl with the printed side up.
Note there are various types of printable vinyl and what you use may require different setup, so please read application instructions by the manufacturer.
Next I put a sheet of silicone paper on top, so the vinyl doesn’t stick to the heat press. The Easy Press Mini has warmed while I made the sandwich and now I can press it. The press was set to 2 and I moved it around for approximately 2 minutes. It actually needs 15 seconds, but it’s tiny and I needed to cover an area few times larger than it’s plate, so 2 minutes it was.
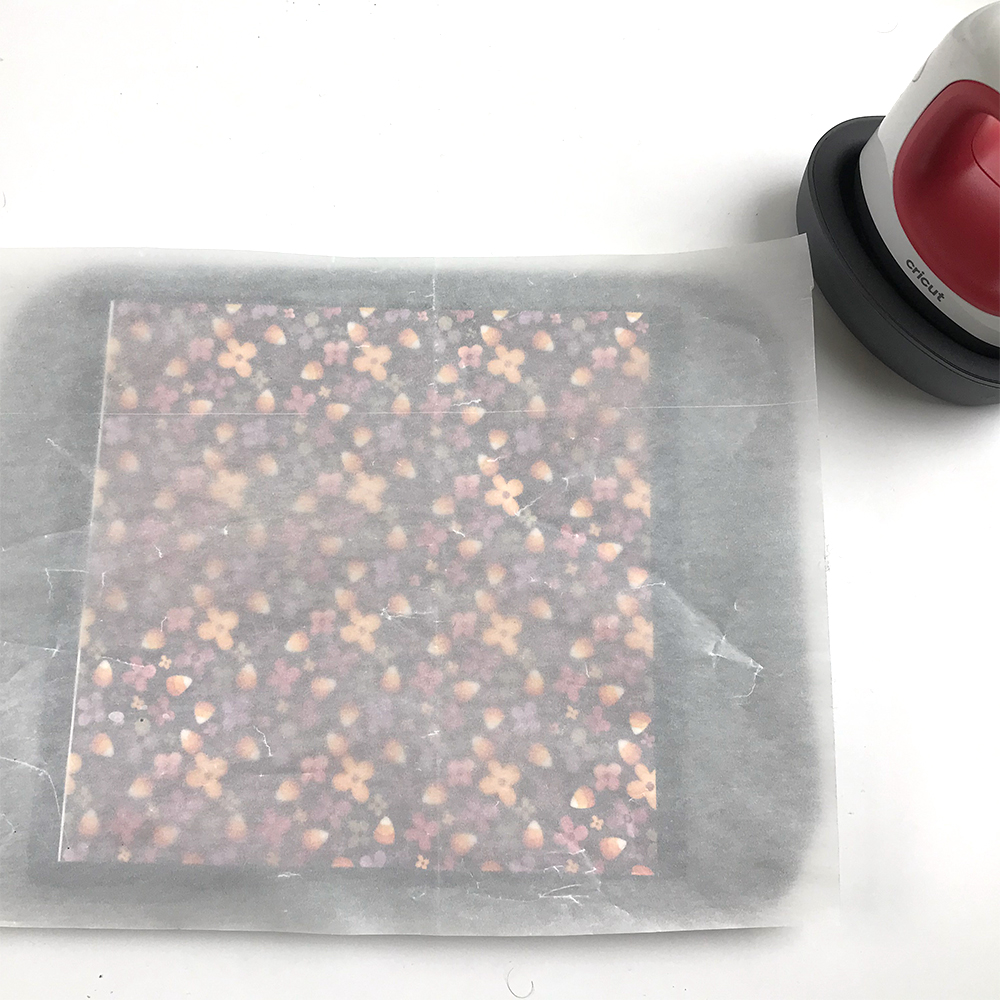
Next I peeled the paper and let the new material cool a bit.
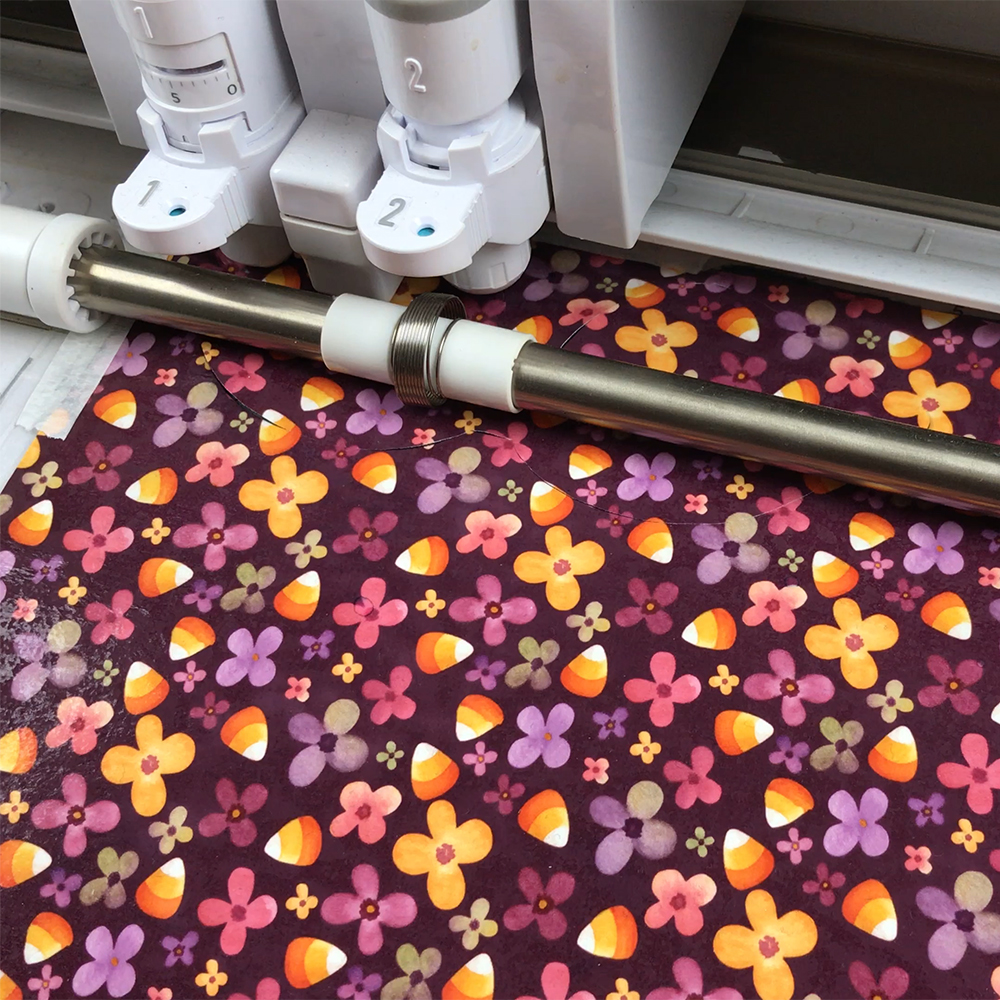
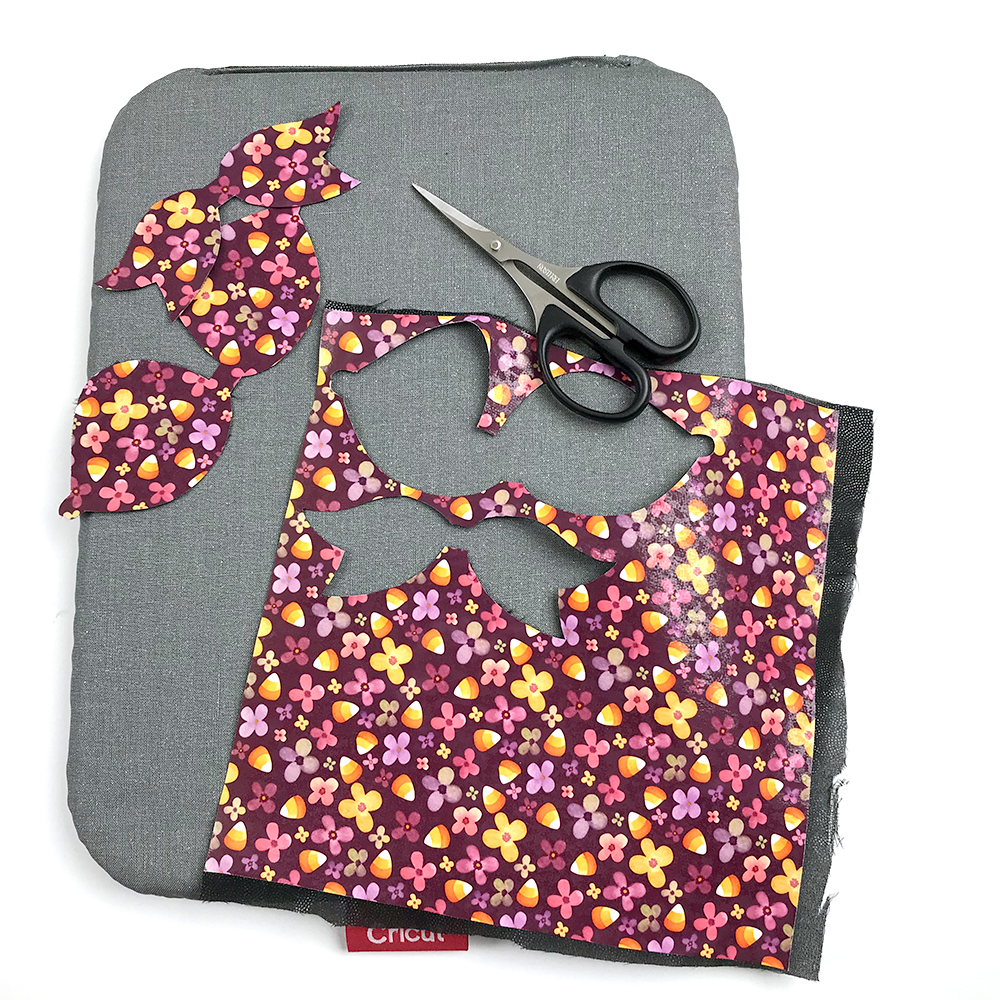
Once it cooled it went straight on a mat and in the Cameo 4 to be cut to a hair bow. It went like a charm. The material behaved like a soft paper-thin faux leather and the edges were fairly clean from fraying.
Once the bow parts we cut I heat-sealed the edges with a lighter and proceeded to assemble the bow.
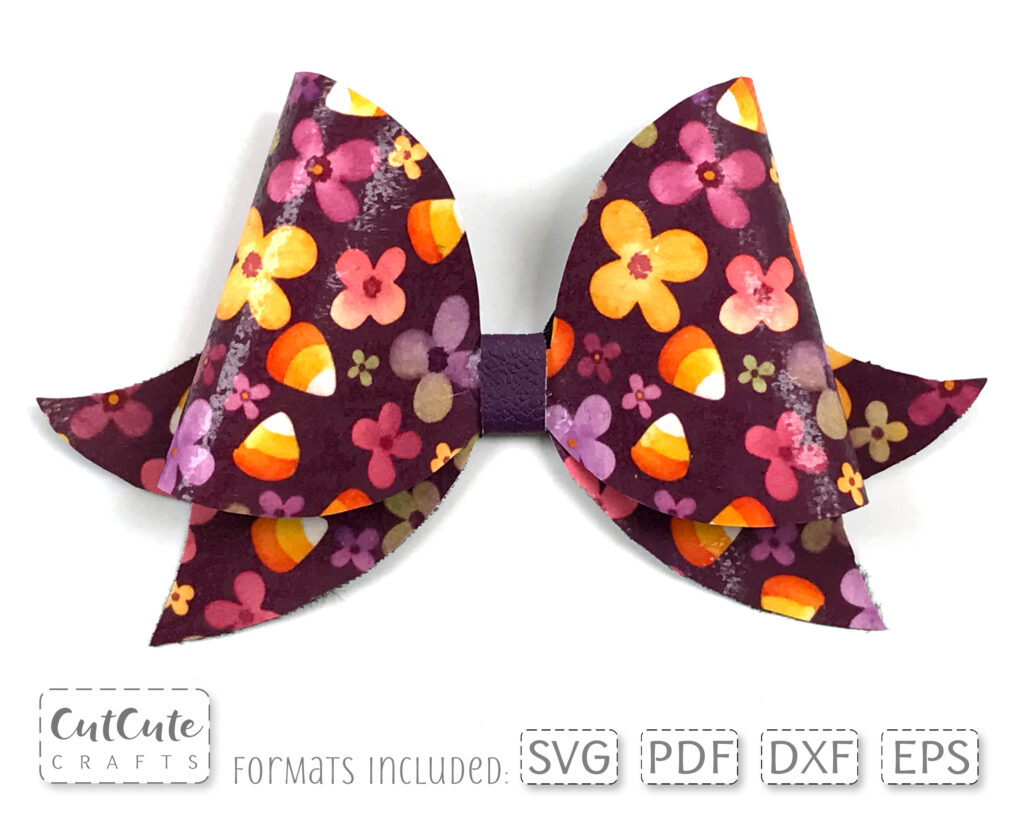
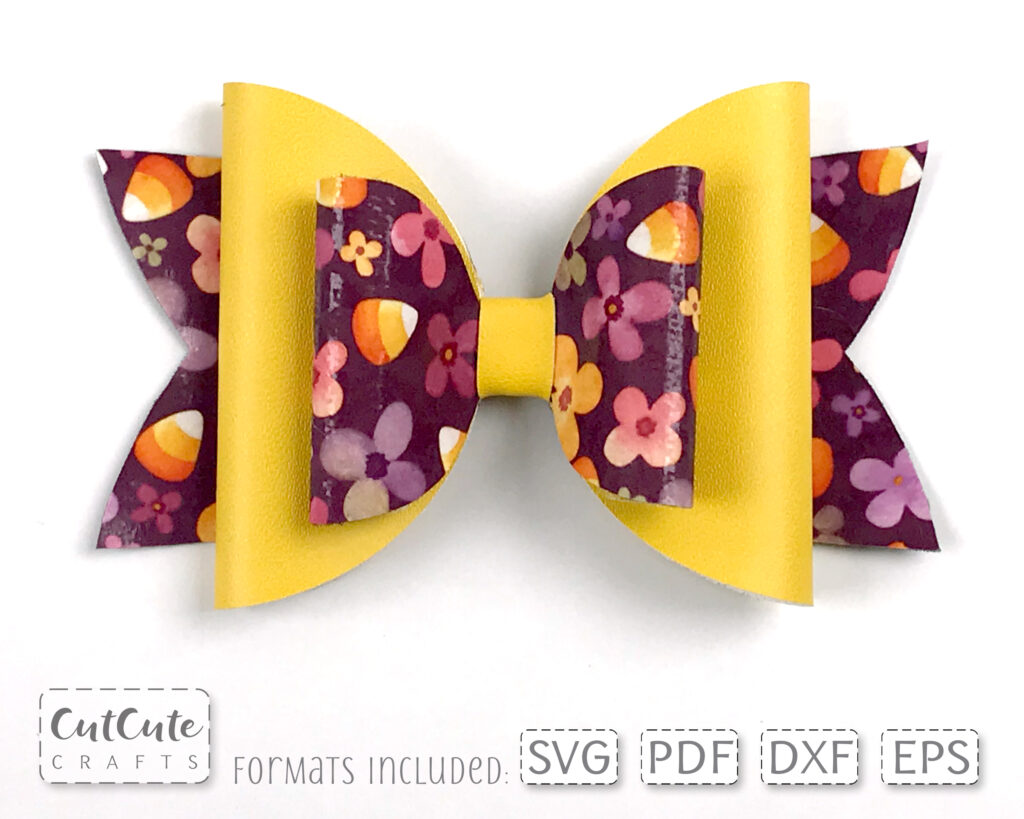
The whole thing took may be 30 minutes and I had material for 2 bows from a partially printed vinyl sheet. How awesome is that!
Here are the bows I made
2 thoughts on “How to make your own hair bow material”