For Silhouette Studio users (click here for Cricut)
Since you probably already unzipped the ZIP that you downloaded, now you need to open those SVG. Just in case you haven’t yet, here’s how to unzip.
I’m a Silhouette user, so I’ll start with the Silhouette software. It has few different levels – Basic (free), Designer, Designer Plus and Business.
The Basic level, which comes free with your machine, is the only one from the Silhouette Studio versions, which doesn’t open SVG files. It opens DXF and Studio3 files.
Especially if you’re new to the software and working with the machine, I highly recommend to purchase a Designer version license. DXF files are harder to work with for many reasons I’m not going to get in here.
So, you got a Designer, Designer Plus or Business edition of the SIlhouette Studio program. Now you can open SVG files.
First you need to open the program. Go to the upper left corner and open the File menu. See the picture bellow.
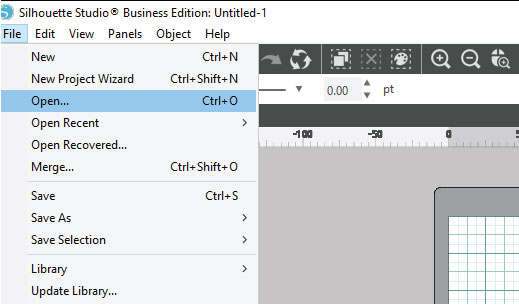
Next click on Open and browse to the location where you have saved the SVG files. Select a file with a single left mouse-click and click Open on the dialog window. This will open whatever file you have selected.
It’s that simple and easy! And quick 🙂
For desktop Cricut Design Space users (go to Design Space on mobile)
This is more than just two clicks, so I’ve made more screenshots to show you.
First I’ll show the process on a computer. Scroll down for a mobile version.
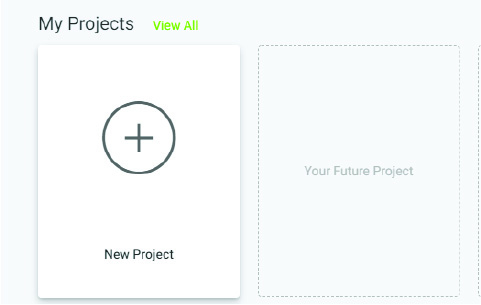
First you open the program and log in. Next you need to create a new project by clicking on the rectangle with the plus sign. See picture below.
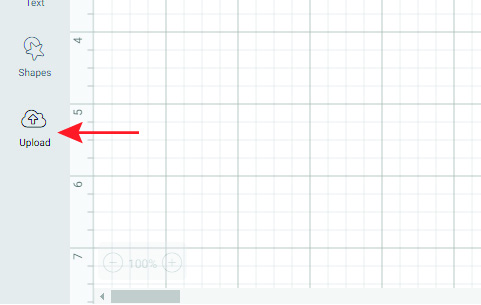
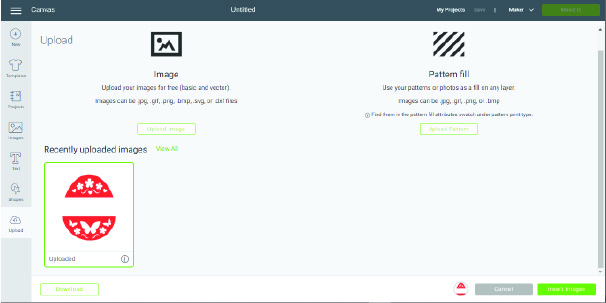
This will open the new canvas where your files will go later. Once you’re there, look at the left side bar and at the bottom find the Upload button.
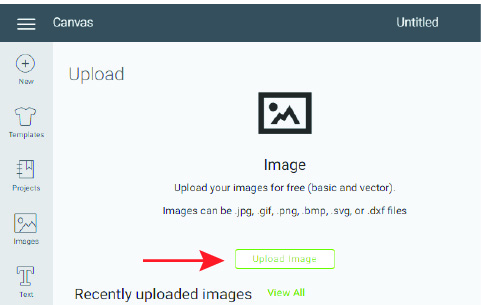
Click the Upload button and it will replace the screen with a new one, where you’ll have the option to choose Image or Pattern upload. We’re interested in Image now, so click on Upload Image and browse to find your SVG files.
Select a file you wish to open and click Open. It will add the file to your Recently Uploaded Images gallery.
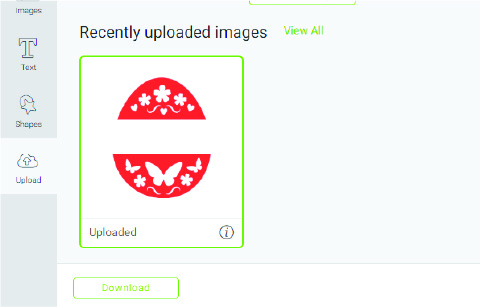
Here it is! The newly added SVG is now in your program. What is left to do is to click on the image to select it and go to the bottom right corner of the same window to click the green Insert Images button.
That’s it. Now your SVG is open and you can go ahead to edit it or cut/draw etc.
For Design Space on mobile users
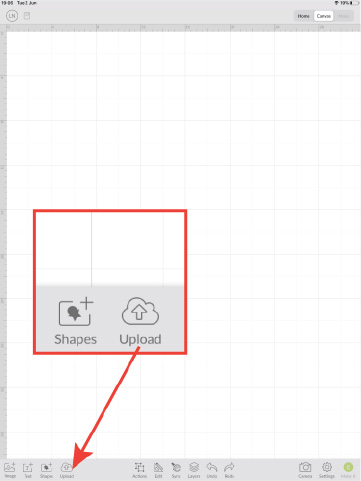
I captured these images on iPad Pro, but it should be similar on iPhone. So first start the app and go to your new canvas. Next find the Upload button in the lower left area of the screen. Tap on it to open a dialog window like on the picture below.
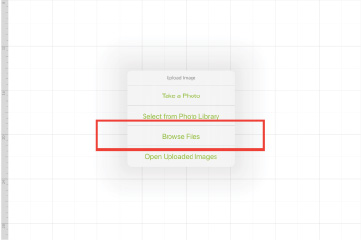
Tap on Browse Files and locate the SVG files, that were extracted from the ZIP.
Select the file that you want to open in Design Space. Tap on it and it will be added to your image library in Design Space.
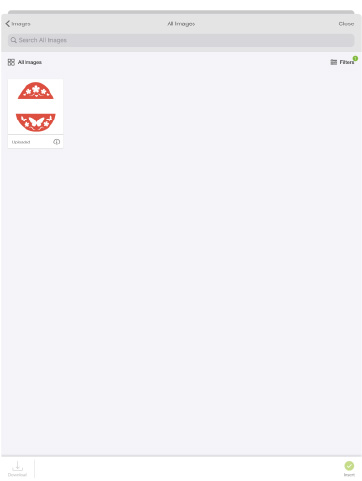
Select the file and tap on the Import button in the bottom right corner.
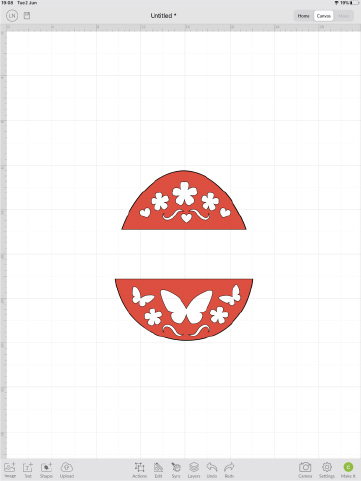
That’s it. The SVG is on your canvas and you’re free to proceed with whatever your project asks for next.
Hope this long and boring tutorial was somewhat helpful 🙂